Click this link https://visualstudio.microsoft.com/downloads/ to download Visual Studio Community for PC. Once the download is complete, double click it to start the installation process. You should end up at the following screen.

Make sure you have “.NET desktop development” selected. Unless you need anything else, just click “Install”. Once that’s done, click the launch button and you should see something like this…
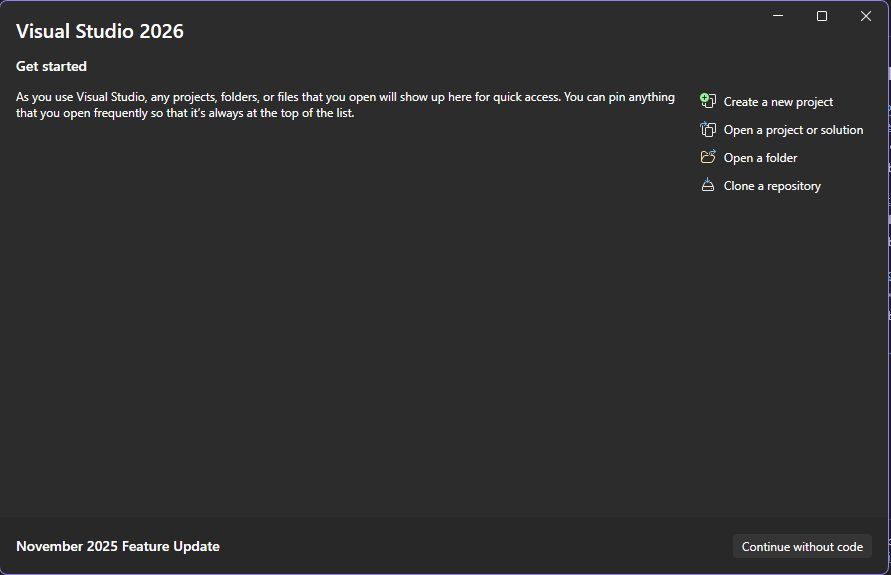
If you click “Create a new project”, you should be able to select the type of project you want from the list. But the Monogame project options won’t be there right now. We need to fix that, so just click “Continue without code” for now.
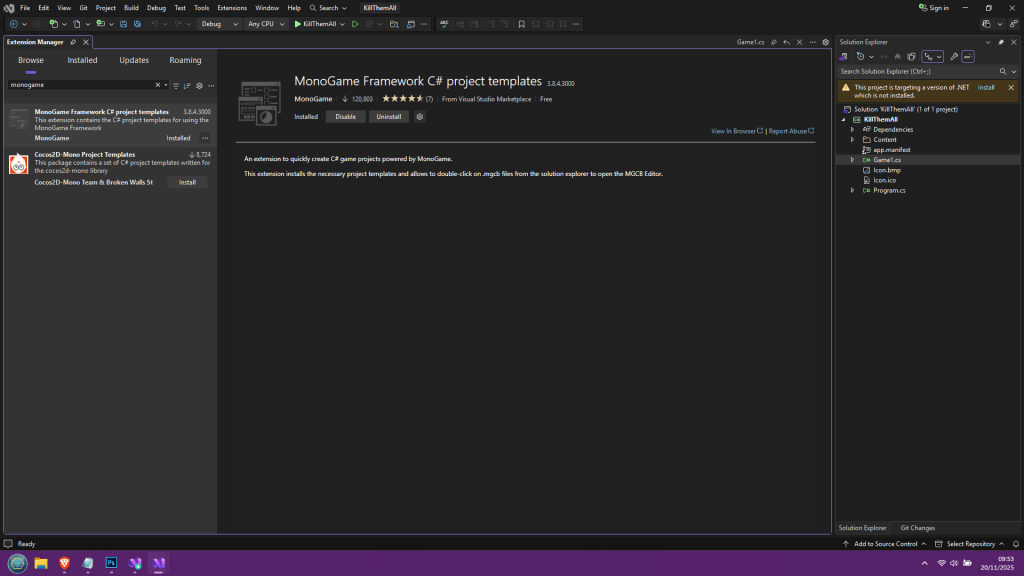
Once Visual Studio is loaded, click the “Extensions” menu and then “Manage Extensions”. This should open the Extension Manager window. You should see a search bar in the top left corner of the window. Use it to search for “Monogame”, and then select “MonoGame Framework C# project templates” and click “Install”, then close Visual Studio.
Next time you open Visual Studio and get back to the start screen, choose “Create a new project” and this time the list of project types will appear but now it will also contain the Monogame templates. Browse the list until you find “MonoGame Cross-Platform Desktop Application”. Click that, and then click “Next”.
You should now see this window here…
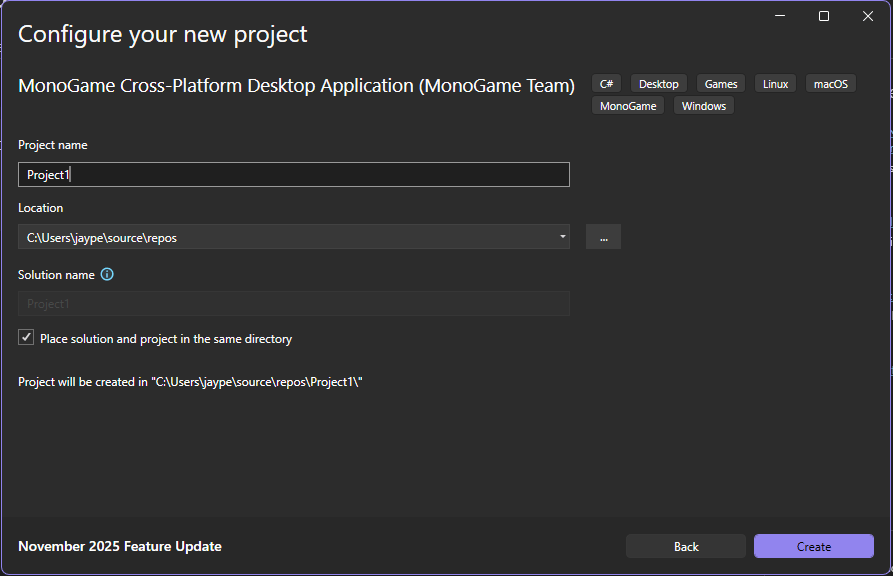
Always make sure you click “Place solution and project in the same directory”. You will thank me one day, I promise. Give the project the same name as the game if you want to keep things simple (I called my example “KillThemAll” but you can of course choose whatever you want). When you are done, click “Create”.
Once Visual Studio sets the project up, look on the right and click the “Game1.cs” file to show its contents. You should see something like this…
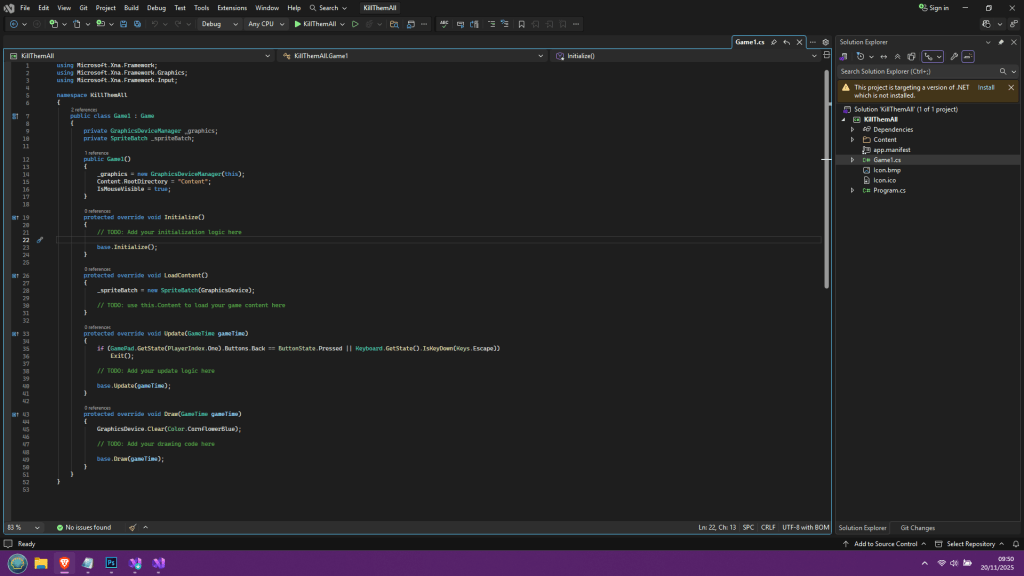
What you are looking at is the start point for any game project. If you like we can just hit the run button (the green arrow) at the top of the screen on the toolbar, and it will run the project. All you will see is a blue window and all you will be able to do is press escape to close the program.
Alright, that’s where you are going to be starting any new game from. There’s no real point in keeping this as a template as this is the exact starting point of any new project. But we can add a few things to make our lives easier and to make things more readable before getting into actual coding.
Take a look at the code on your screen right now. Don’t change anything, just look. You may notice some of the text is green. This is because of the two forward slashes at the front of each sentence. This turns the sentence into a “comment” which is basically a way for any programmer to add notes without interfering with the program. The computer will ignore any lines of text that start with the two forward slashes.
So, that’s the first thing you’ve learned. So let’s look near the top of the program, where you will see the following two lines of code…
private GraphicsDeviceManager _graphics;
private SpriteBatch _spriteBatch;
Now, I don;t know about other programmers but I hate using the underscore as a character when I type because it requires 2 keypresses and it can slow me down when I type, so let’s get rid of the underscore character on both of those lines. But, only delete the underscore; leave everything else untouched.
OK, if you look closely, you now have 2 errors in your program, because there are 2 references to what we just changed; and the references won’t work because they still use the underscore character. Now, if you look at the bar at the bottom of the screen you should see a little red circle with an X in the middle, and there should be a ‘2’ next to it to signify we have two errors. Click the red circle and it should show you a list of the errors in the small window at the bottom of the screen. If you double-click either one, it will jump you directly to the line where the error is. So, double click each one, and edit out the underscore character on both lines, and you will see that the number of errors returns back to zero.
OK, now save; There are 2 buttons that look like a floppy disk on the top toolbar. The second one is “Save all” so just click that every time you want to save to avoid confusion.
OK so you will want to keep an eye on the errors as you progress. Please bear in mind however that errors can mean the computer will incorrectly interpret your code and therefore give you the completely wrong error message; it pays to be extra careful, so before we go any further, we should heed some advice.
C# is case sensitive, which means that it will pay attention if you use upper and lower case letters when defining the name of anything. So “playerScore” will be considered a different variable to “PlayerScore” because one starts with a capital P. Most of the time you can just type in lower case and the computer will detect if you have identified a name/label that uses a capital letter and will just filll out the word with the correct case for each character (you can press tab to complete the word once the computer picks up what you are trying to write) but this doesn’t usually happen on the very first letter so beware.
Alright, let’s take a step back for a moment. See those 3 lines right at the top of the code? The “using” statements?
using Microsoft.Xna.Framework;
using Microsoft.Xna.Framework.Graphics;
using Microsoft.Xna.Framework.Input;
These lines are here to tell the compiler to include the XNA framework, which is basically the backbone of what we are using to make games with. These 3 lines are the bare minimum. If we wanted audio, there would be an extra line in there, but we will cross that bridge when we come to it. For now, just edit the code so that it looks like this…
#region Using statements
using Microsoft.Xna.Framework;
using Microsoft.Xna.Framework.Graphics;
using Microsoft.Xna.Framework.Input;
#endregion
Now, if you look closely at the first “#region” statement, there should be a little down arrow next to it. Click it, and it will collapse all of the text between the “#region” and “#endregion” statements. All the code is still there, it’s just hidden on a single line now, as this image shows…
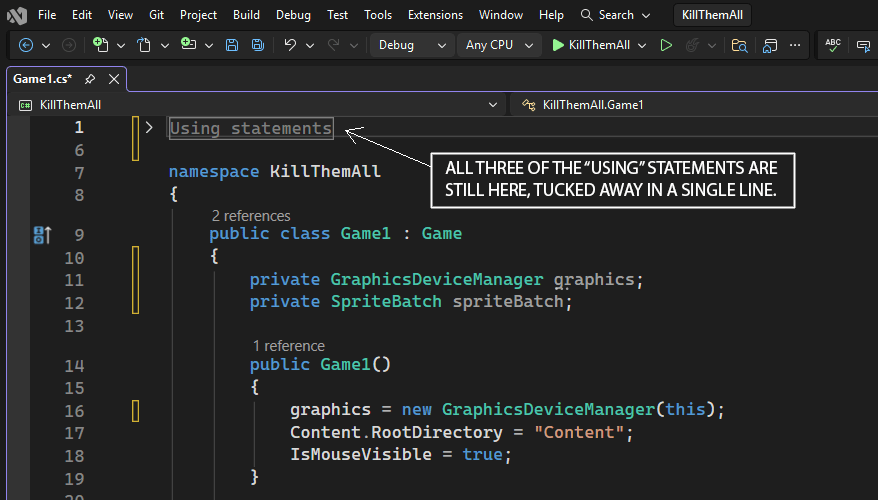
OK, now you know how region statements work. You can use them wherever you like, but for now, I will make a few suggestions. Go back to those two lines of code that I was talking about earlier, where we originally removed those awkward underscores from. Change the code so that it looks like this…
#region DECLARATIONS

private GraphicsDeviceManager graphics;
private SpriteBatch spriteBatch;

#endregion DECLARATIONS
As you can see, I have named this region “DECLARATIONS”. Note that I can also put the same label onto the “#endregion” command but I don’t have to; Well, it is a good idea to always use them so that it is easy to pair them up so that you don’t get confused later on.
So, what exactly is the “Declarations” region then? Well, frankly it’s where you are going to start your programming journey with me. This region is where you will “declare” the “variable space” your program will need to store data of any and all types. There are various types of data and ways of storing it, and it all gets rather complex very quickly if I were to throw you in at the deep end.
Which is what I am about to do. Stay tuned for part 2.
